Bulk Import Locations
Last updated: May 16, 2025
Note: Bulk import is only available for customers on the Business or Custom plan.
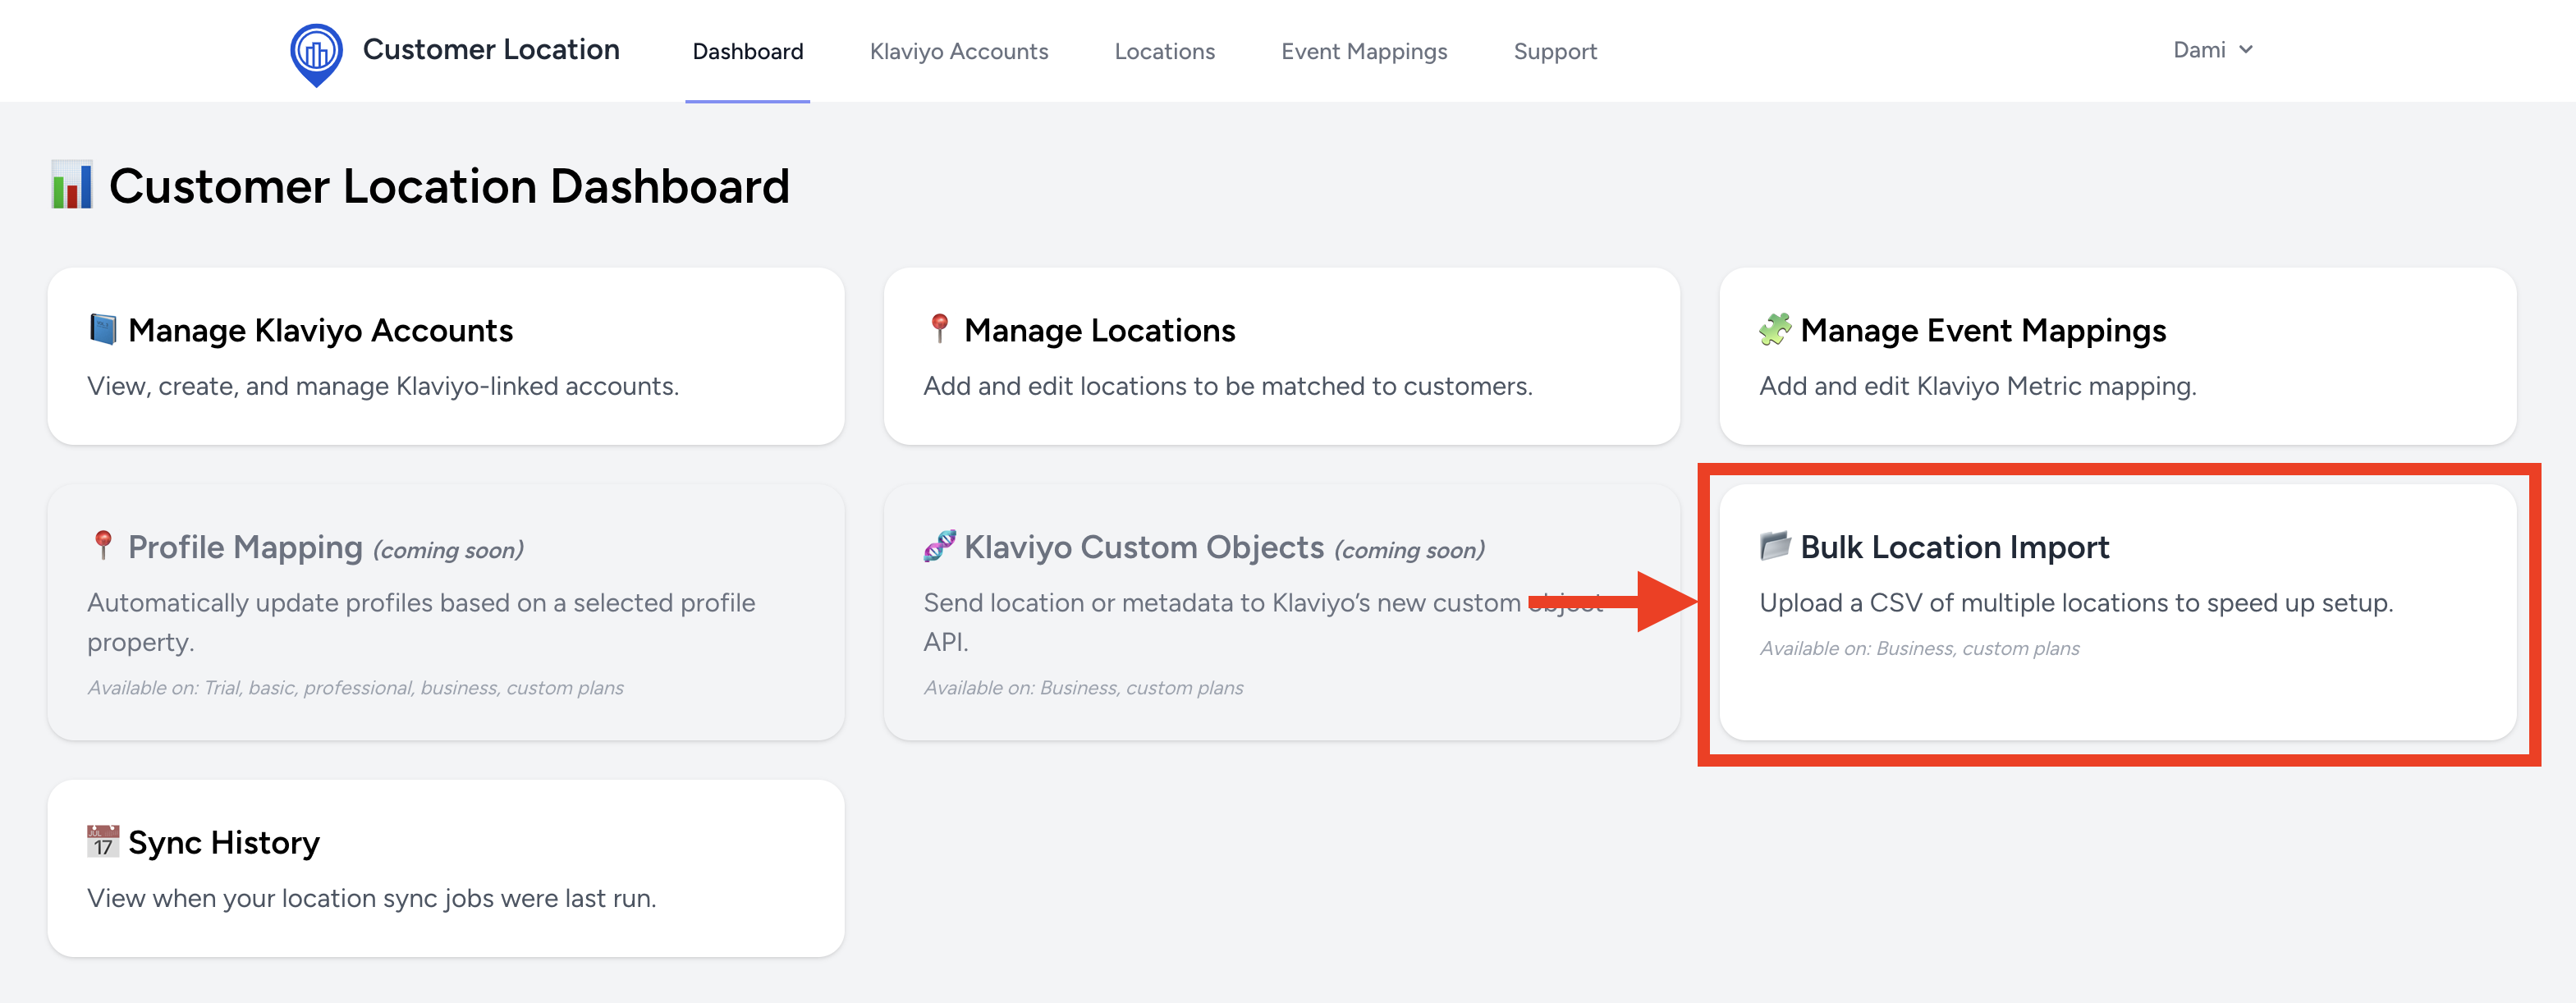
Step 1: Access the Bulk Import Tool
From your dashboard, click on Bulk Location Import. You'll be taken to a screen where you can choose which account you'd like to import locations for.
Step 2: Choose an Account
Select the Klaviyo-connected account that should receive the uploaded store location data. Once confirmed, you'll be redirected to the upload page.

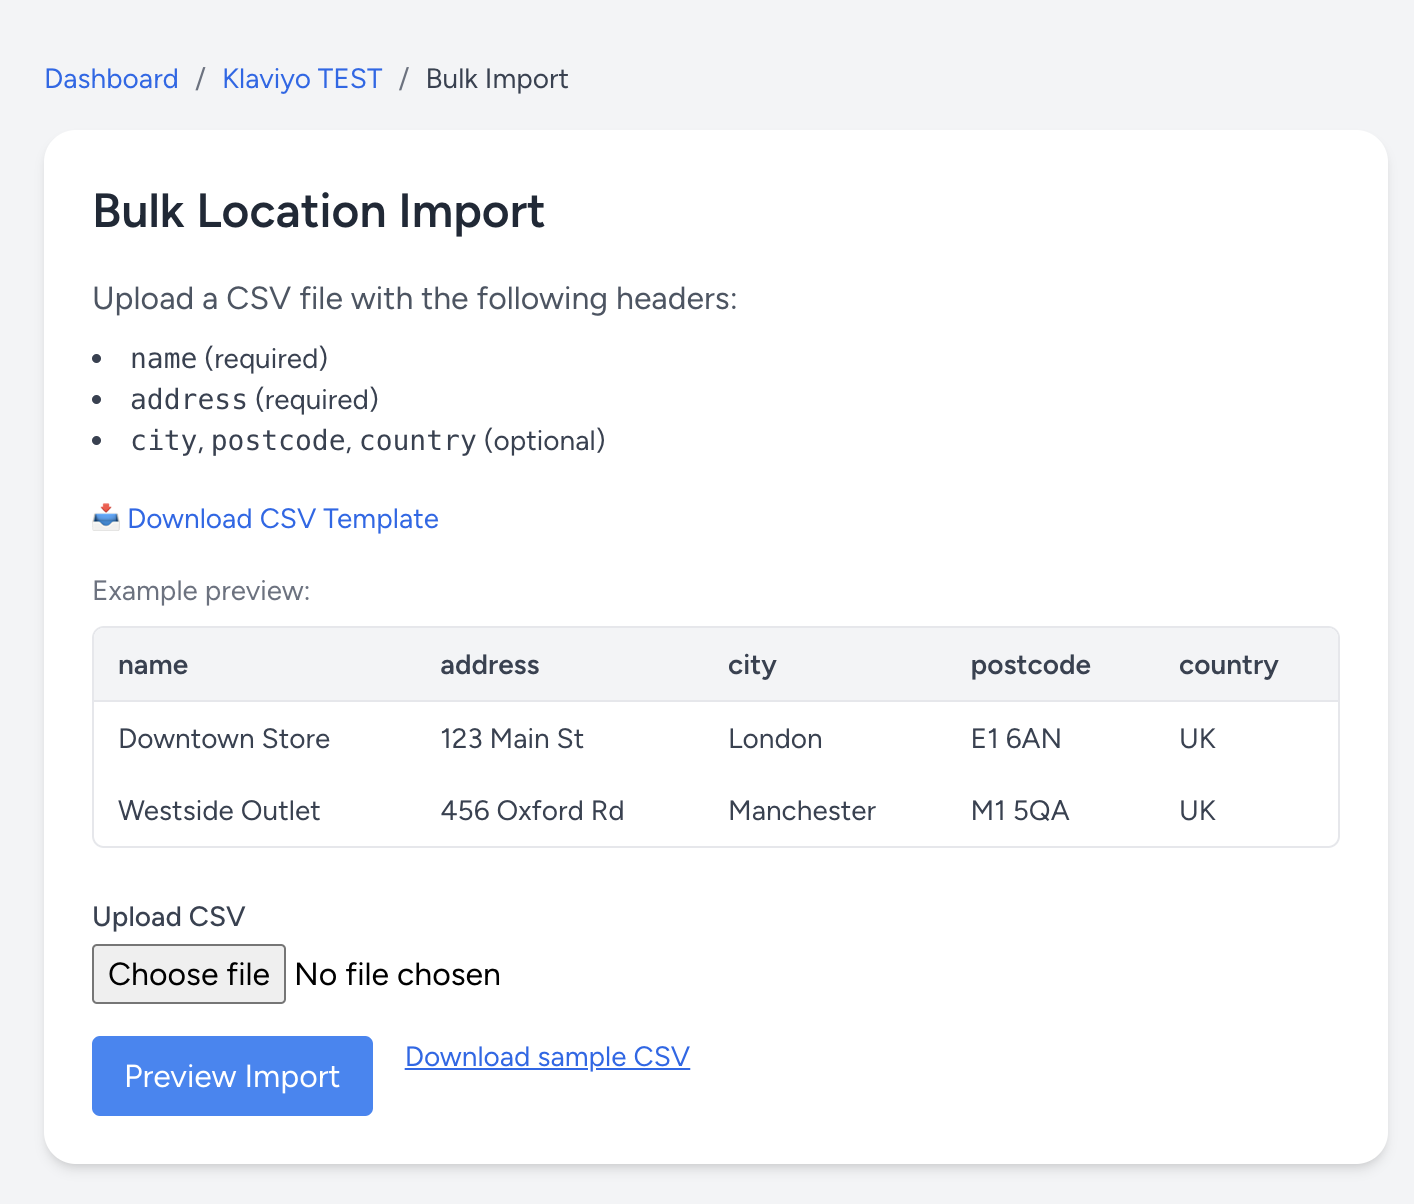
Step 3: Upload Your File
On the bulk import page, you can:
- Select a file to upload (CSV format only)
- Download a sample file for reference
- Review the format and limitations before uploading
Once your file is selected, click Preview File to continue.
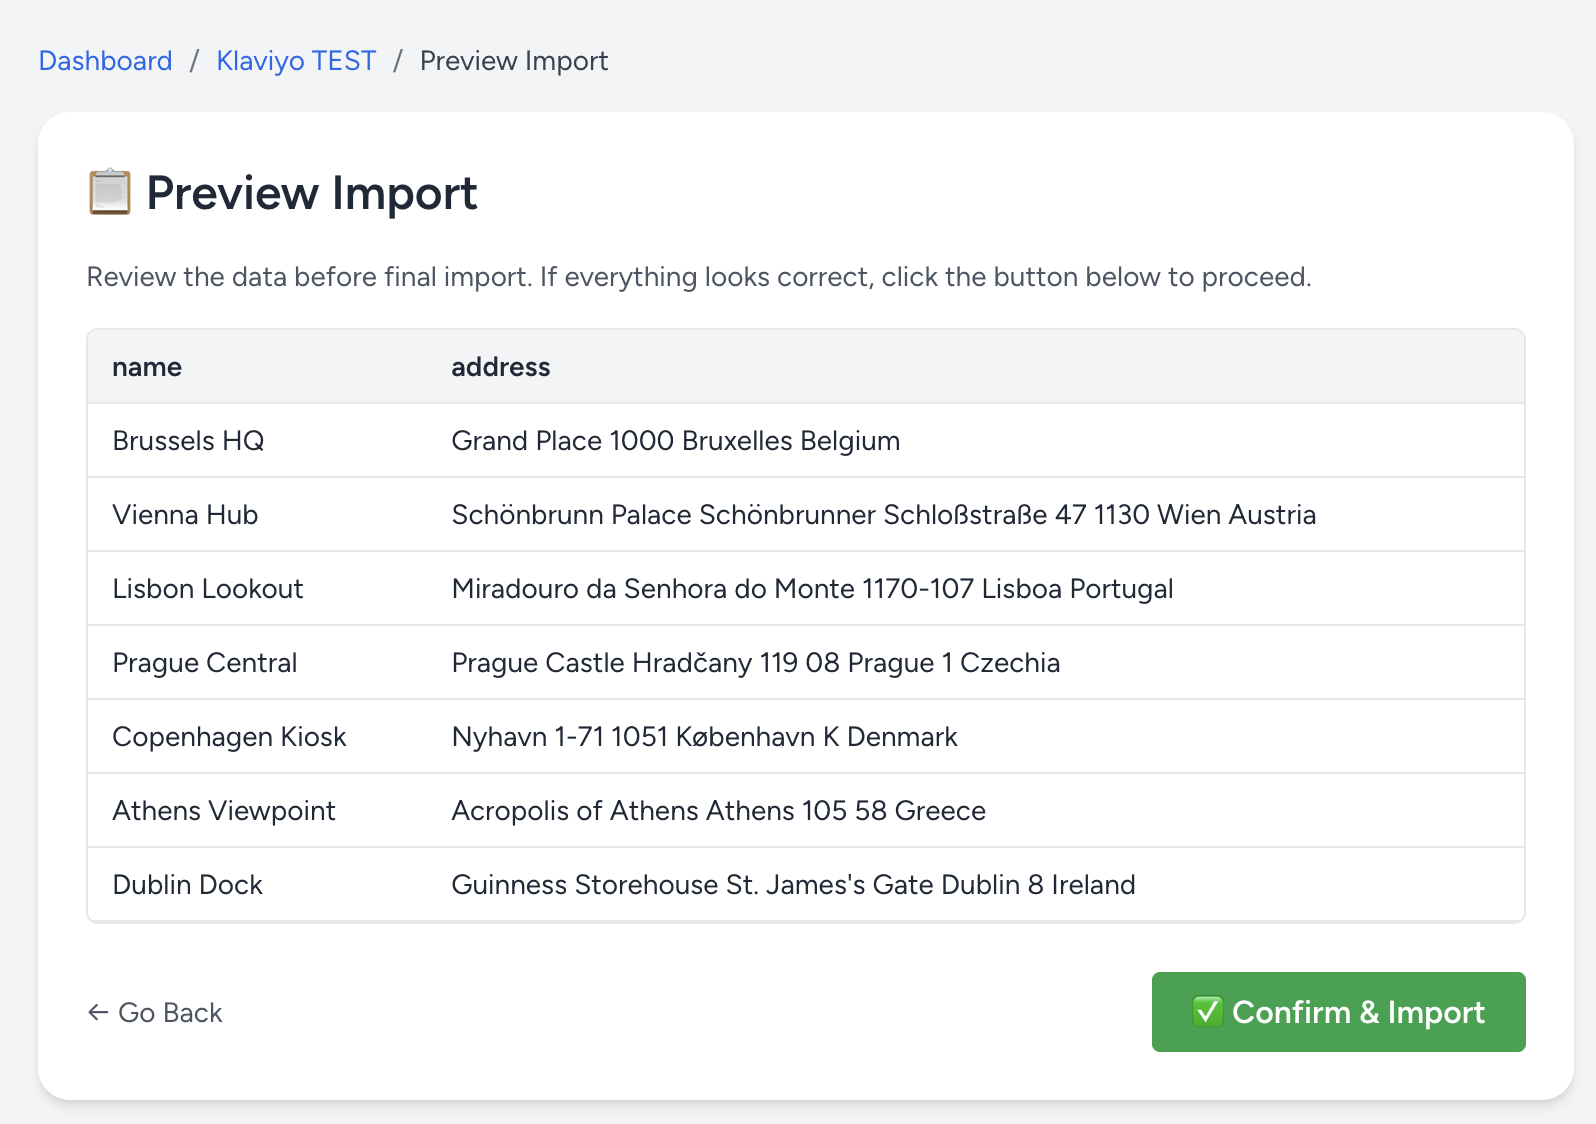
Step 4: Preview and Confirm
Customer Location will show you a preview of the parsed file, including any address validation status. Review the data carefully, then click Confirm and Import to proceed.
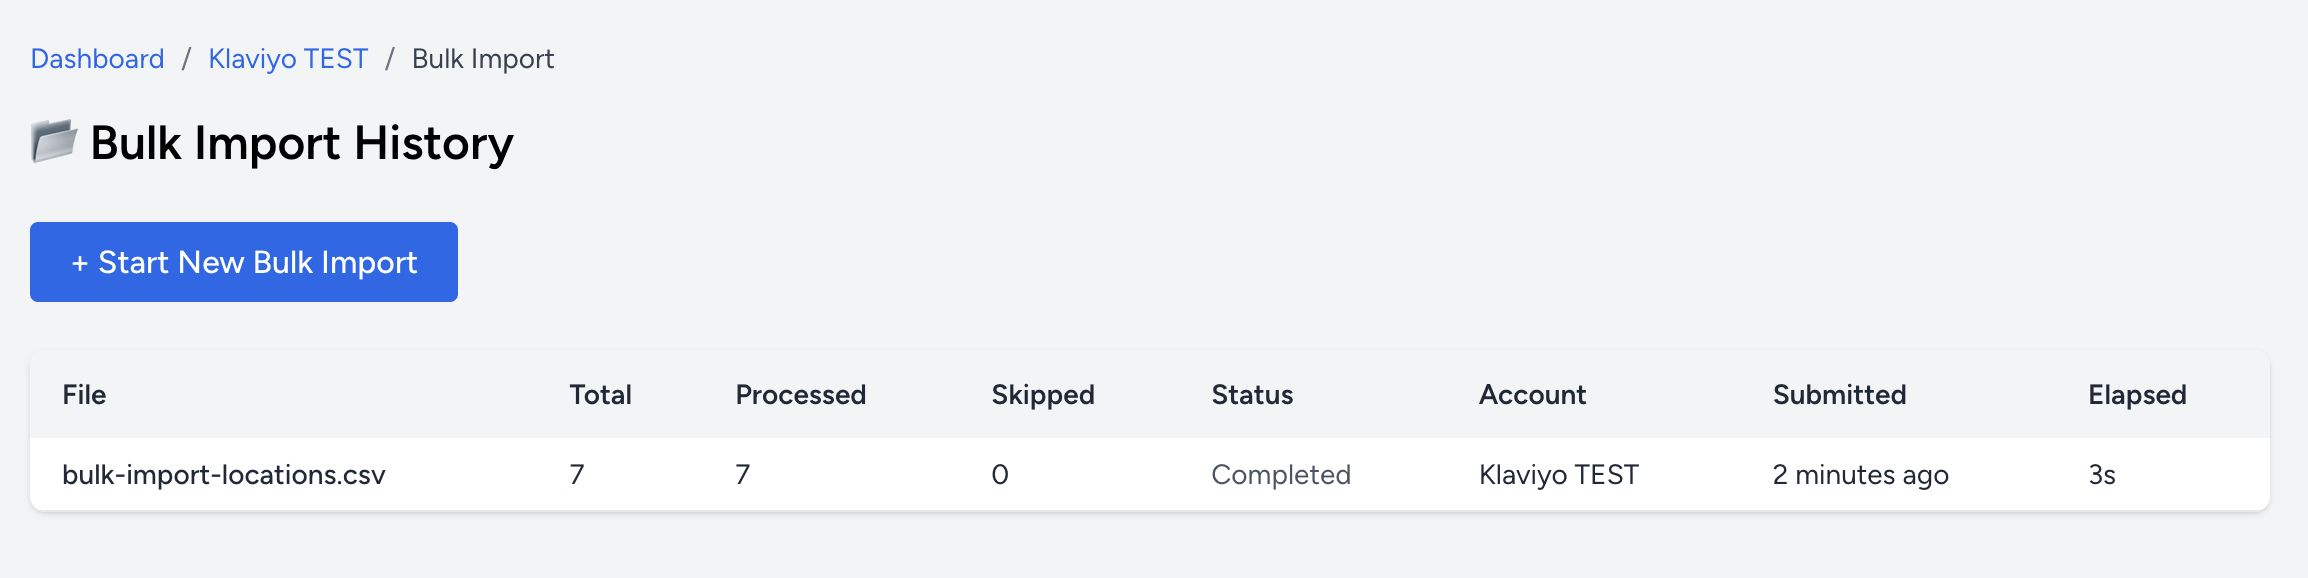
Step 5: Import Confirmation
After confirming, you'll see a message indicating that your import has started. Most imports complete in under 2 minutes.
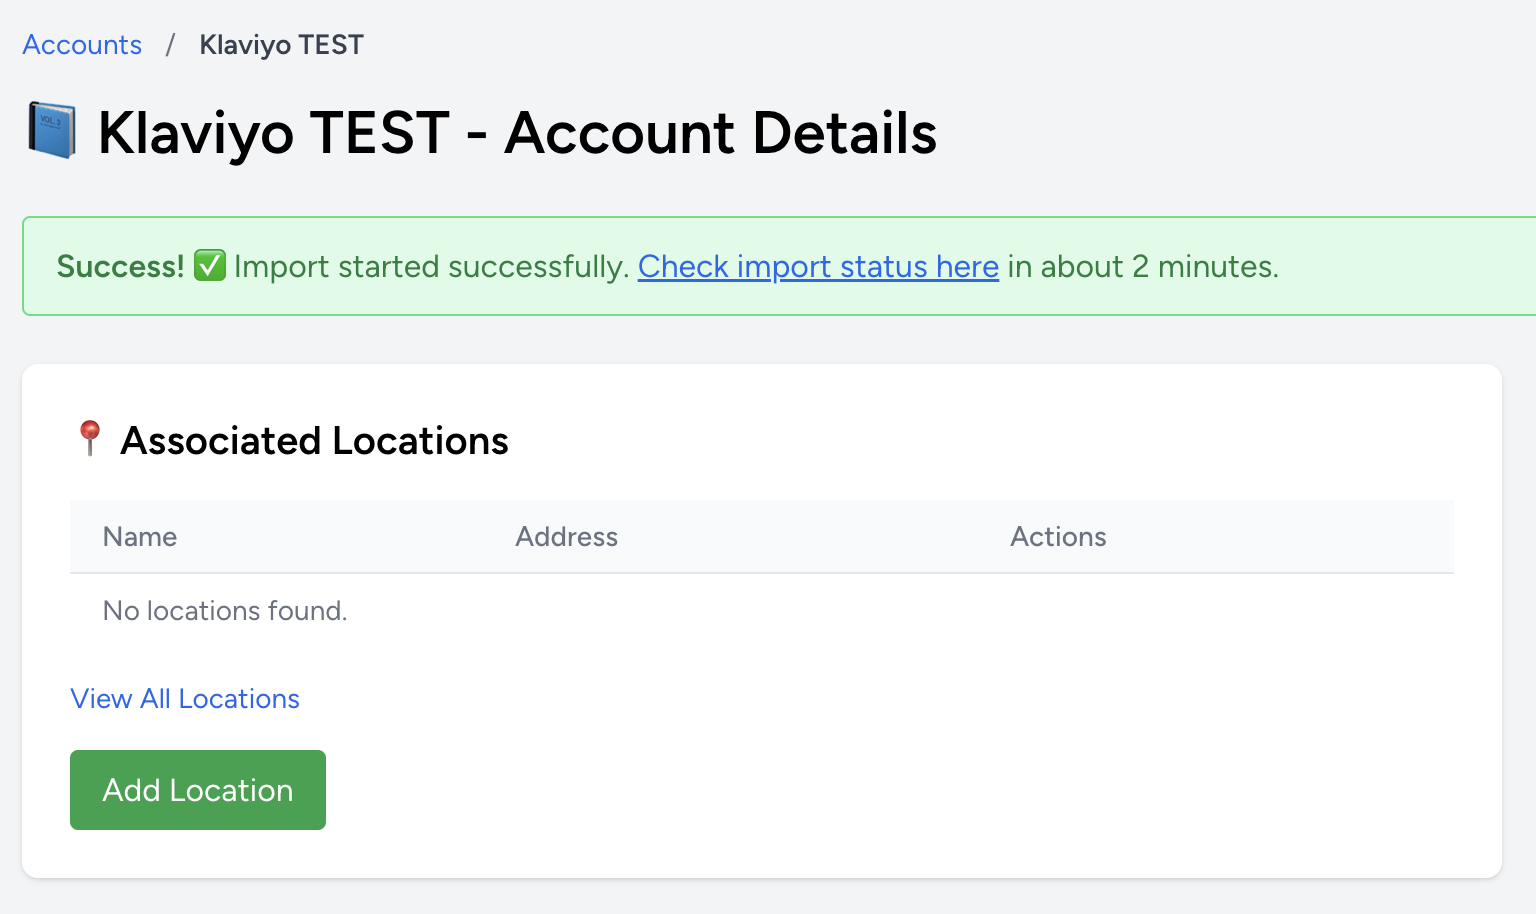
To check the status of your import, click on the link in the success message. Otherwise, go to your Account Page and click View Bulk Import History.