Adding Store Locations
Last updated: May 16, 2025
Want to add many locations at once? Use our bulk CSV import feature.
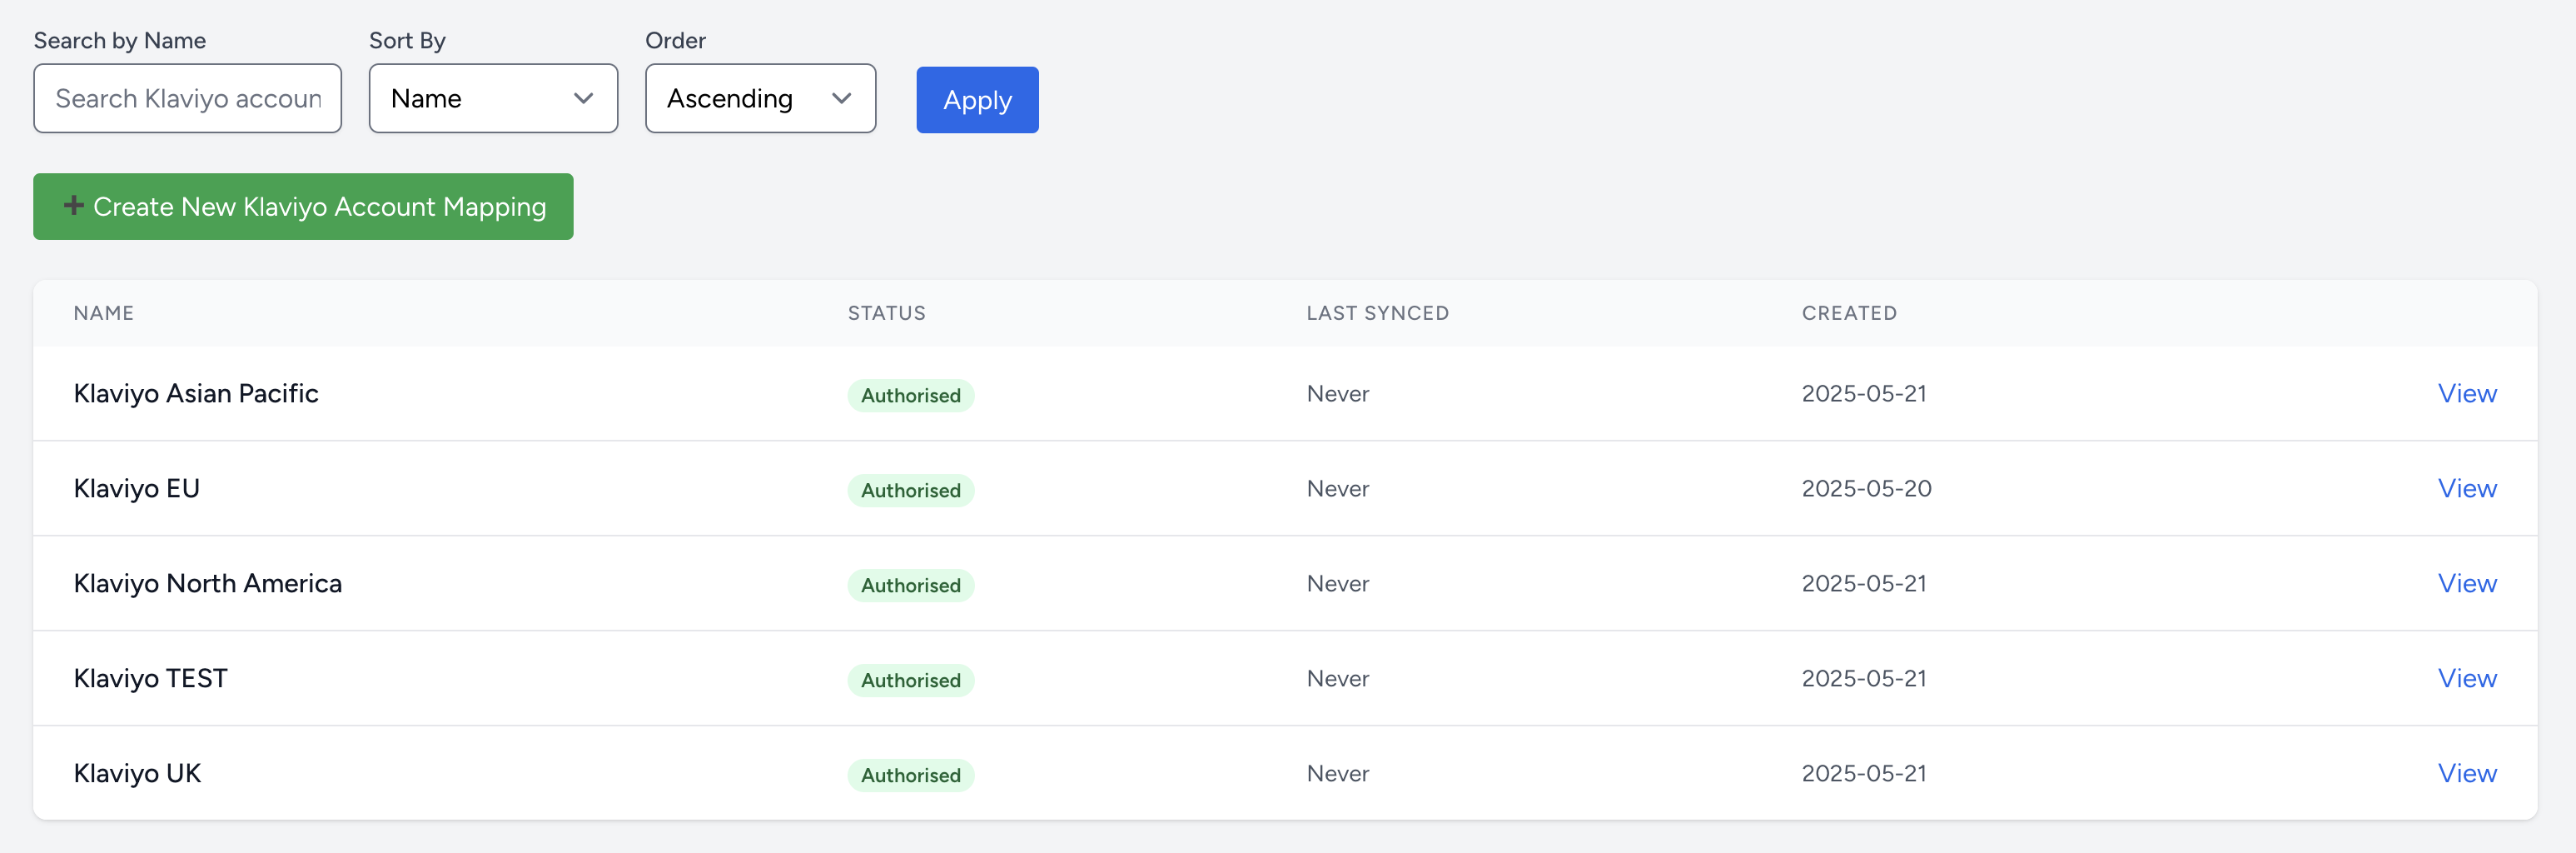
Step 1: Choose Your Account
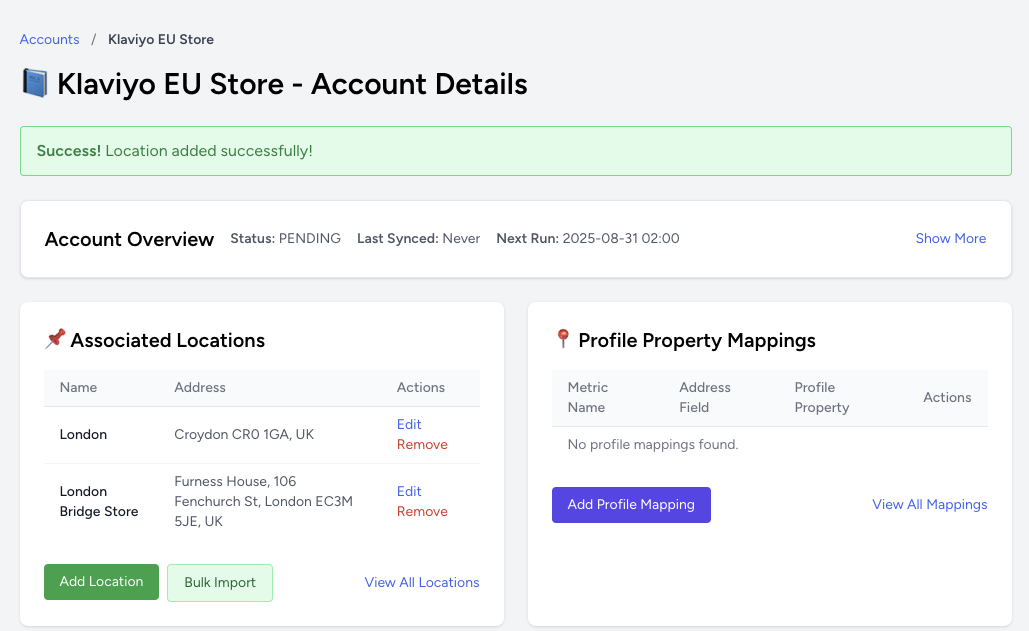
From your dashboard, click Manage Accounts and select View on the account you'd like to manage. For example, if you have multiple Klaviyo accounts for different regions, this lets you keep each region's locations separate.
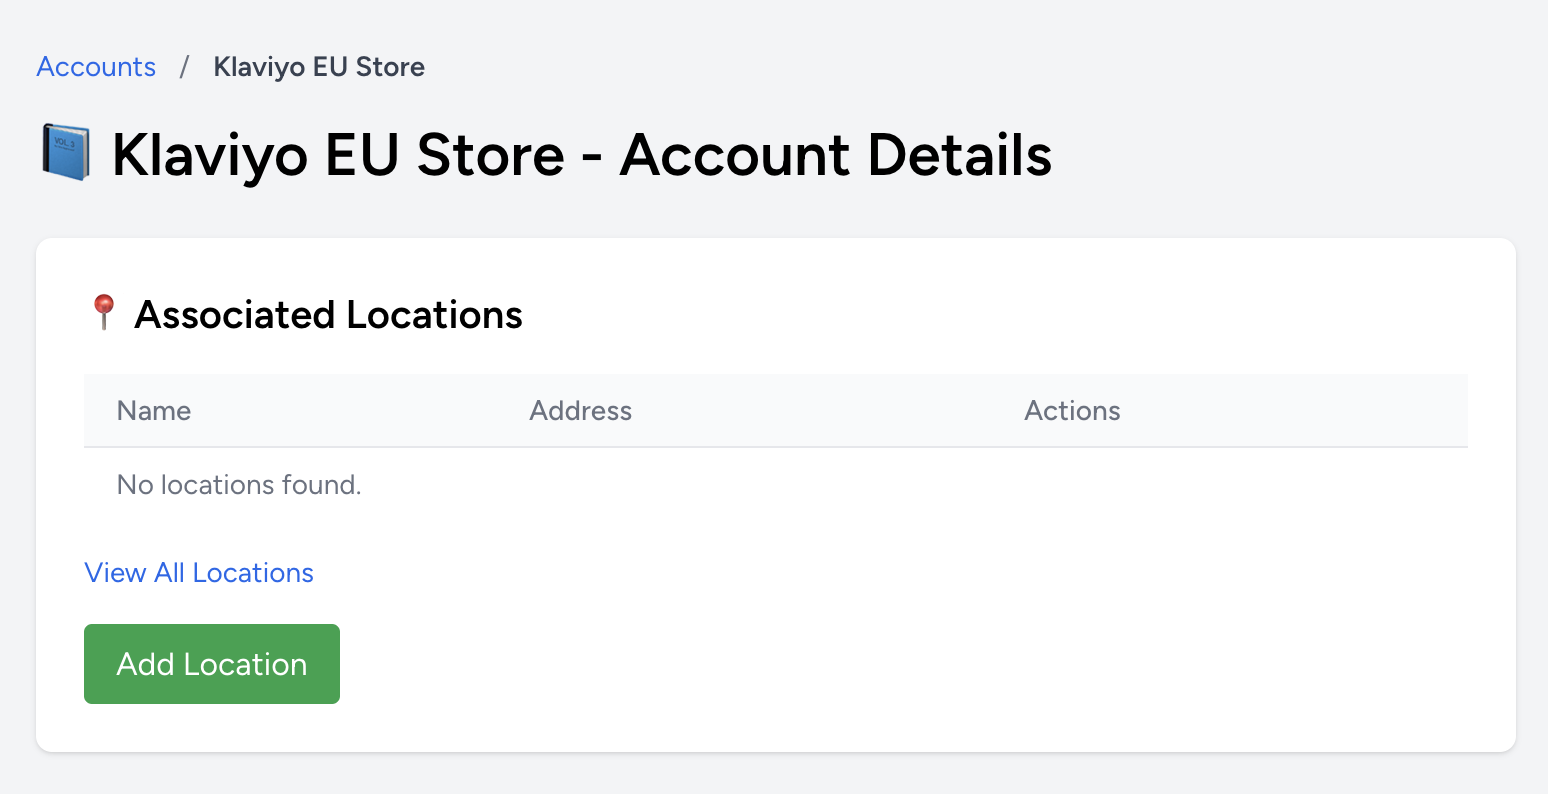
Step 2: Add a New Location
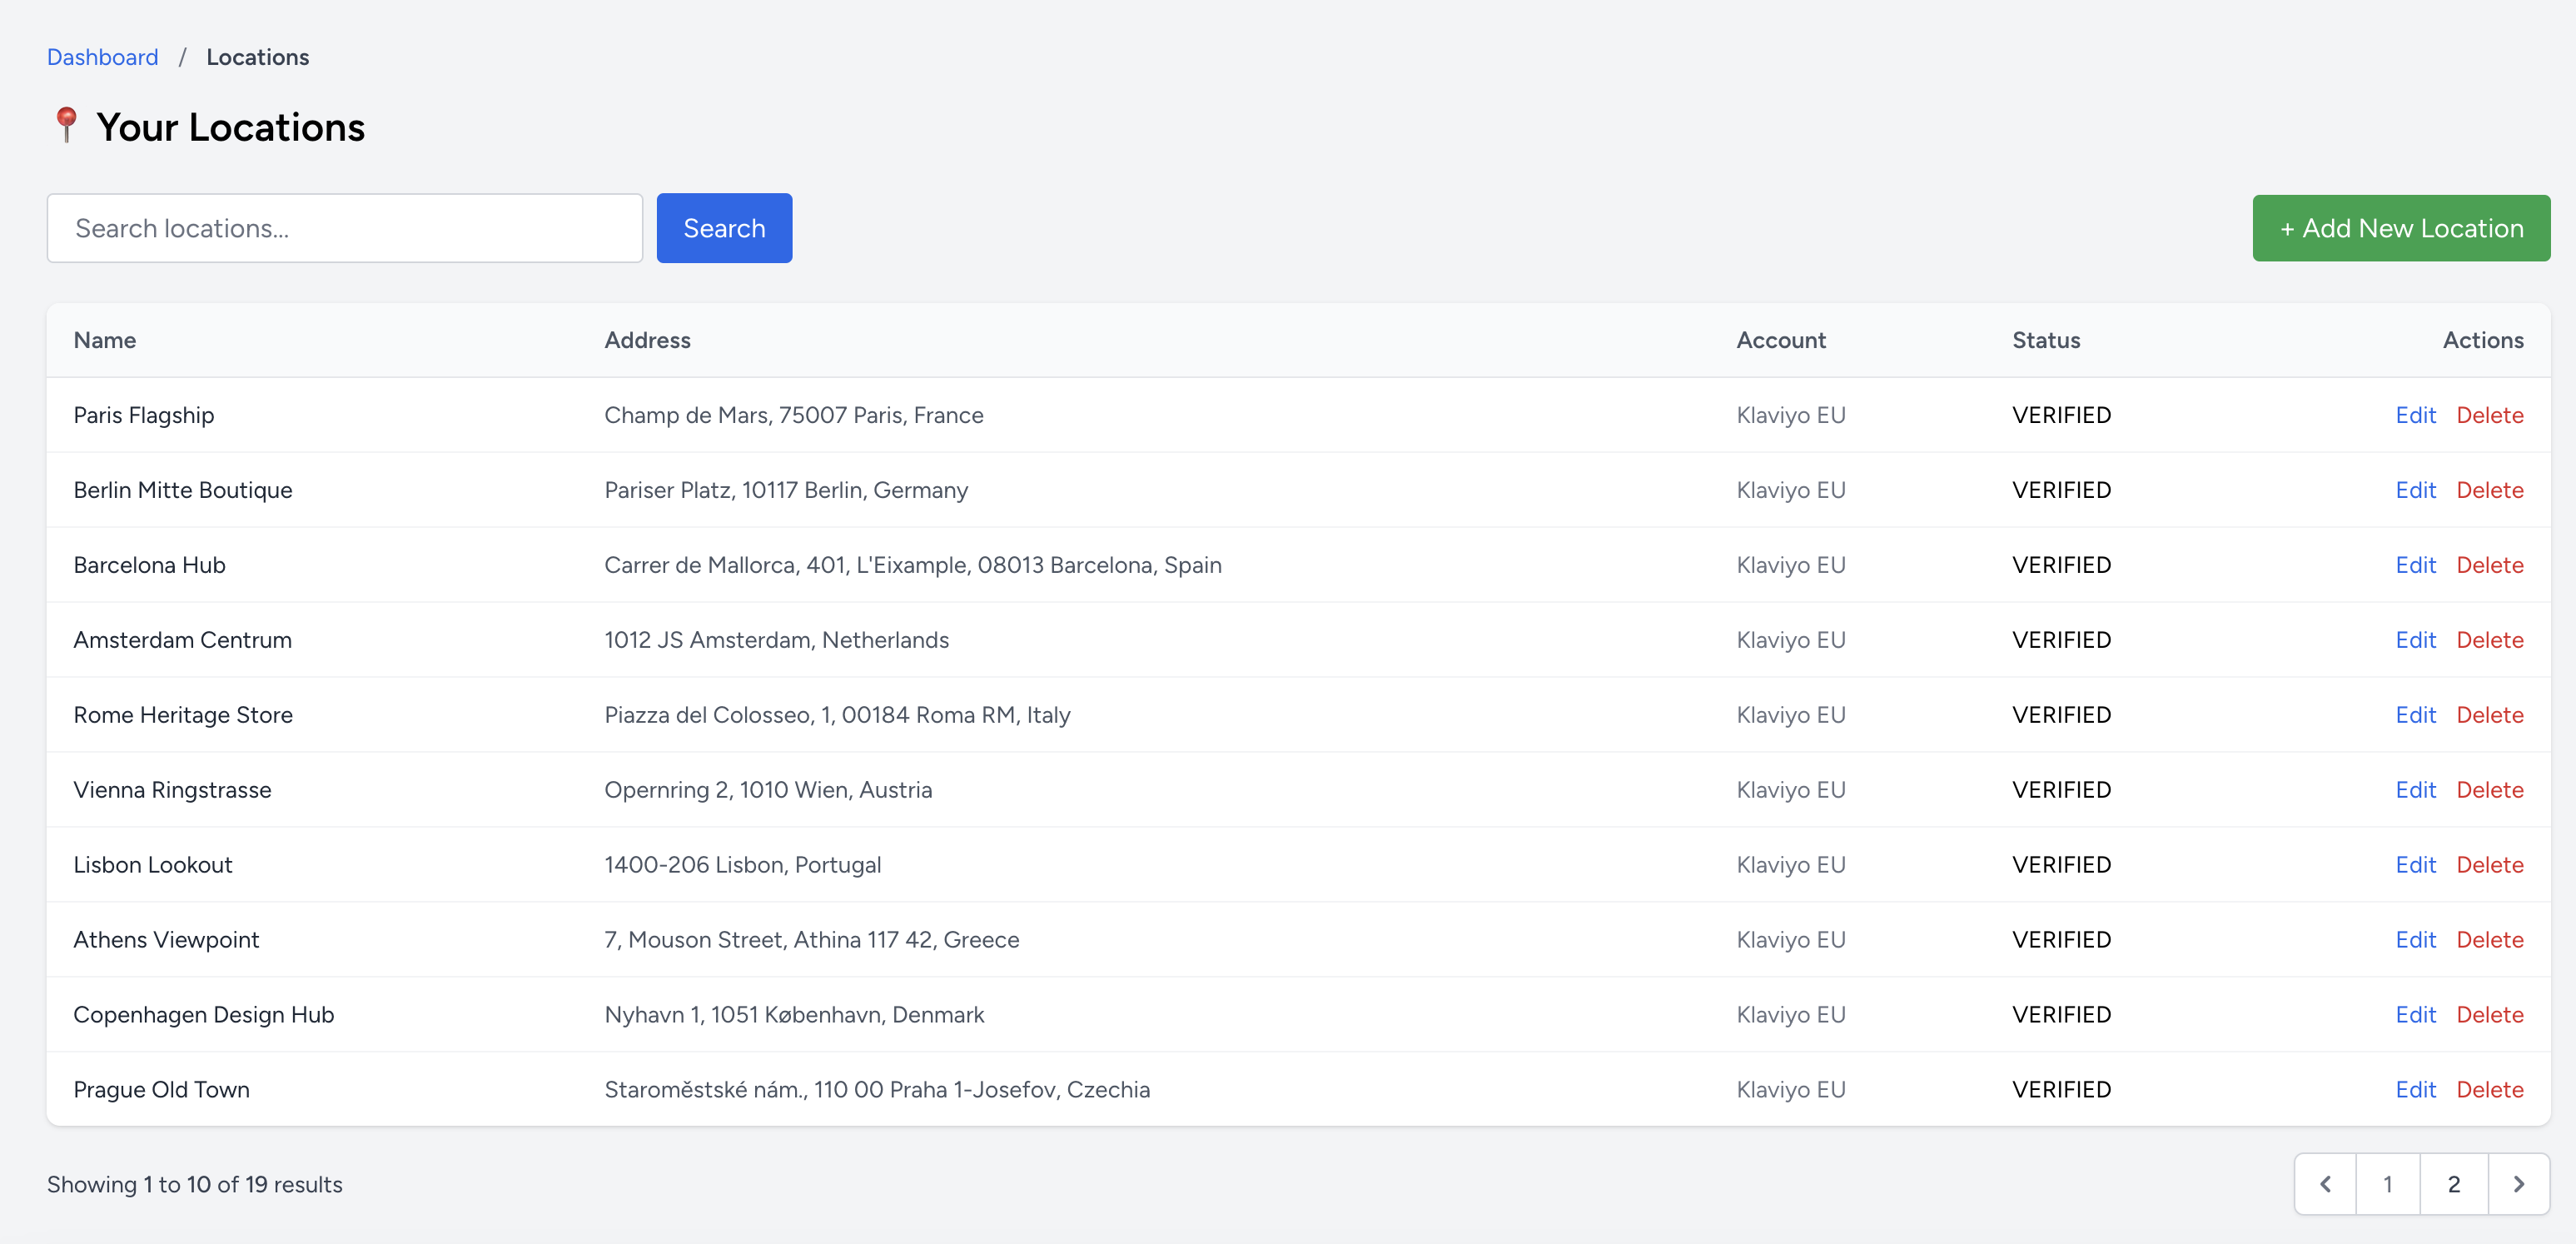
Once inside the account view, click on Add Location. Alternatively, from the dashboard, you can click Manage Locations to see a full list of all store locations across every account.
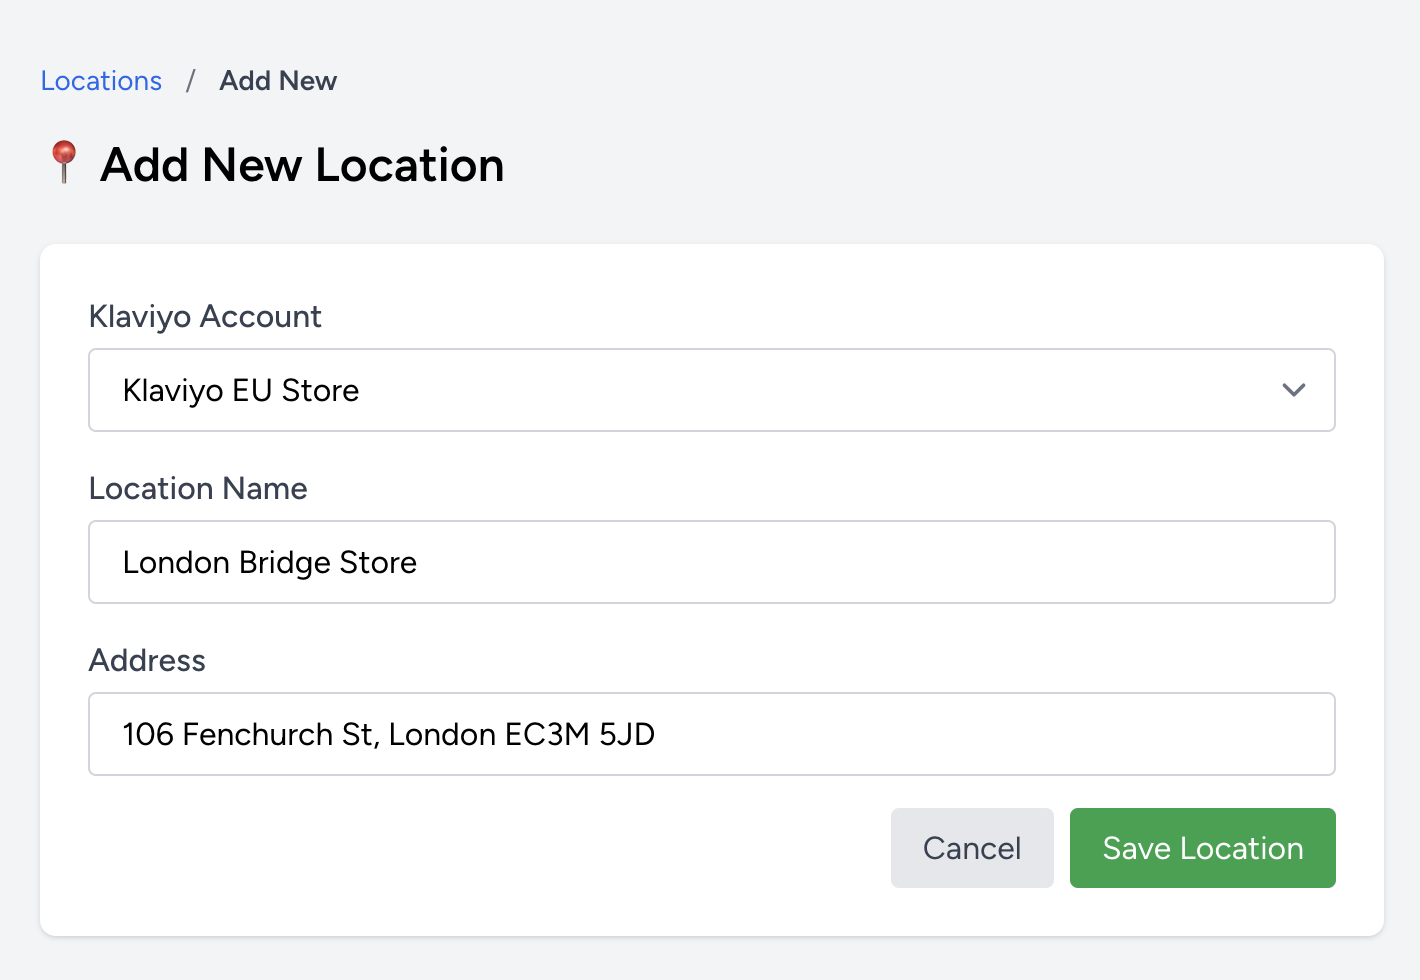
Step 3: Fill in the Location Details
Click Add New Location to open the form. Choose the account from the dropdown, then provide the location name and address. Our smart lookup uses map-based technology to find the best matching address automatically.
We recommend entering a complete address, including country and postcode or zip code, to ensure precise geolocation matching.