Event-Based Location Matching
Last updated: Aug 30, 2025
What’s new: You no longer need to paste metric IDs. As you type a metric name, we automatically query your connected Klaviyo account and show a selectable list. After you pick a metric, the address property suggestions come from that metric’s properties.
Step 1: Navigate to Event Mappings
After logging in, you can start mapping events in one of two ways:
- From the dashboard: Click Manage Event Mappings to view all mappings.
- From Manage Accounts: Open your account and click Add Mapping.
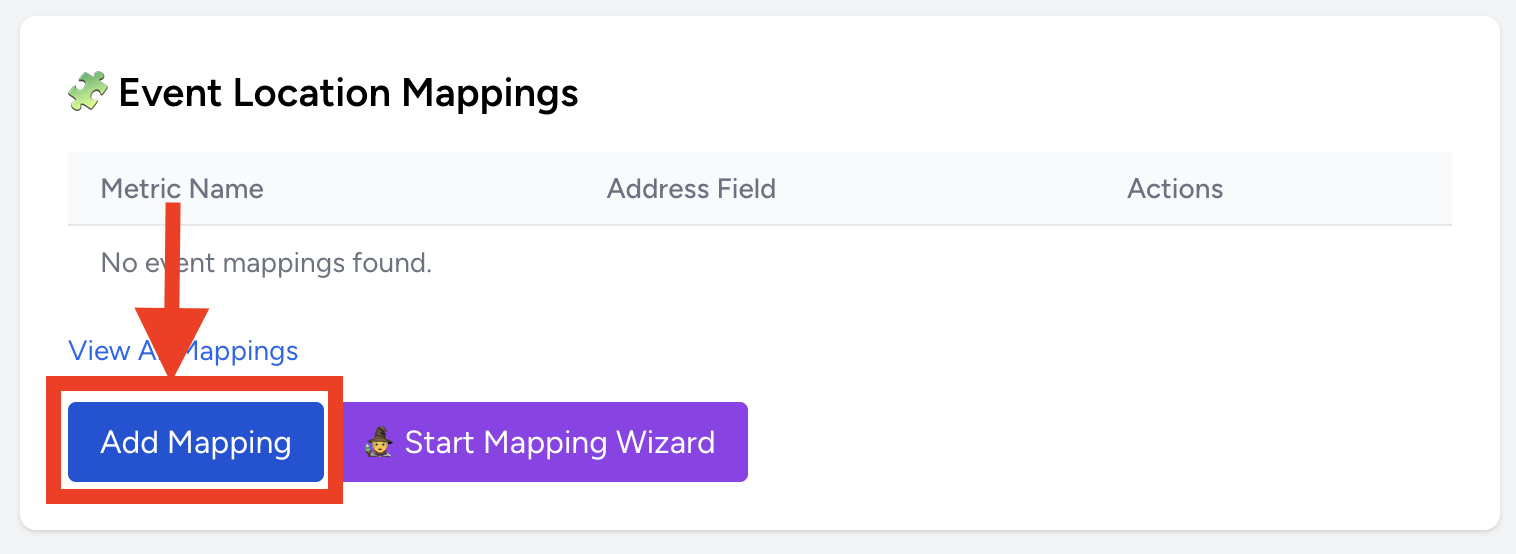
Step 2: Add a New Event Mapping
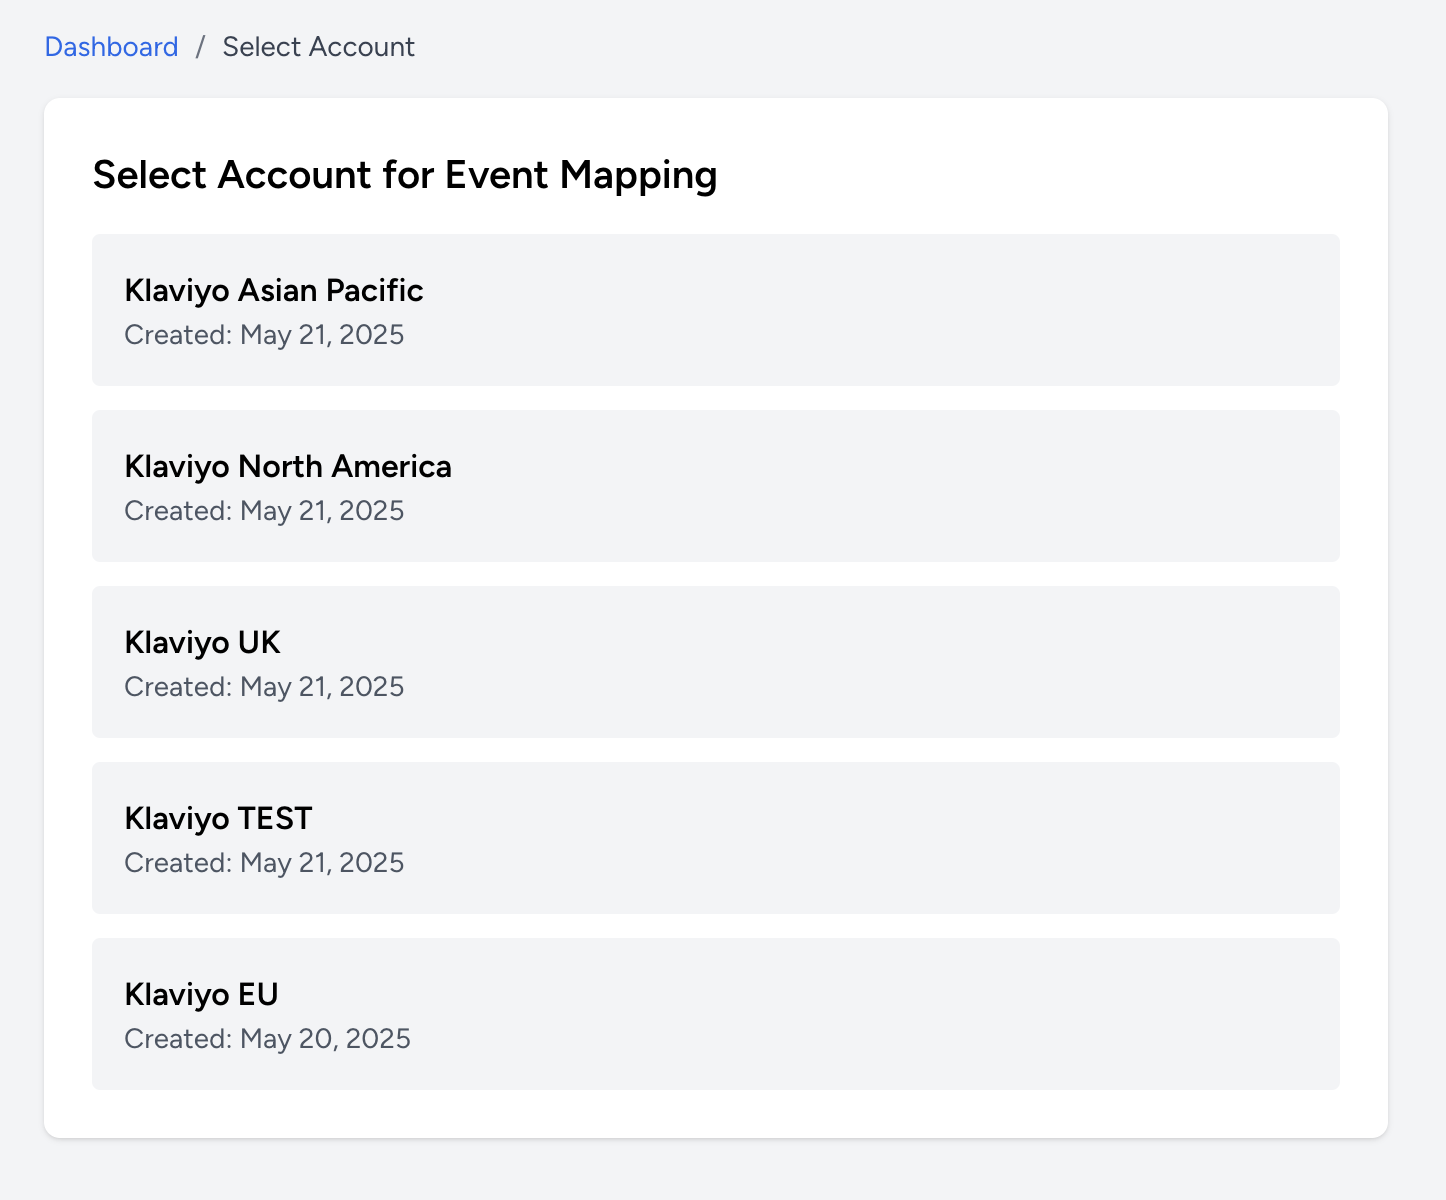
Click Add New Event Mapping. Choose the account to attach this mapping to. You’ll land on the mapping form.
Step 3: Choose Your Klaviyo Metric
In the Metric field, start typing (e.g. Placed Order, Fulfilled Order,
Ordered Product). We’ll automatically check your connected Klaviyo account and show matching metrics in a dropdown.
Select the one you want to map.
- If you don’t see results, make sure the account is Authorised with Klaviyo.
- Results are pulled live from your Klaviyo account, so names will match exactly what you use there.

Step 4: Select the Address Property
After choosing a metric, the Address Field input will suggest properties that exist on that metric
(e.g. shipping_address, Delivery Address, address).
Pick the property that contains a mappable address.
You can also type to filter. Field names are matched case-sensitively, so choose the exact property name.
Next Steps
- Profile Enrichment — save nearest store on the profile
- Flows & Segmentation — trigger flows with nearest-store context
- Troubleshooting — common fixes and checks