Getting Started with Customer Location
Last updated: May 4, 2025
This guide will walk you through connecting your Klaviyo account, setting up store locations, and activating your first sync to begin enriching profiles and triggering flows based on proximity.
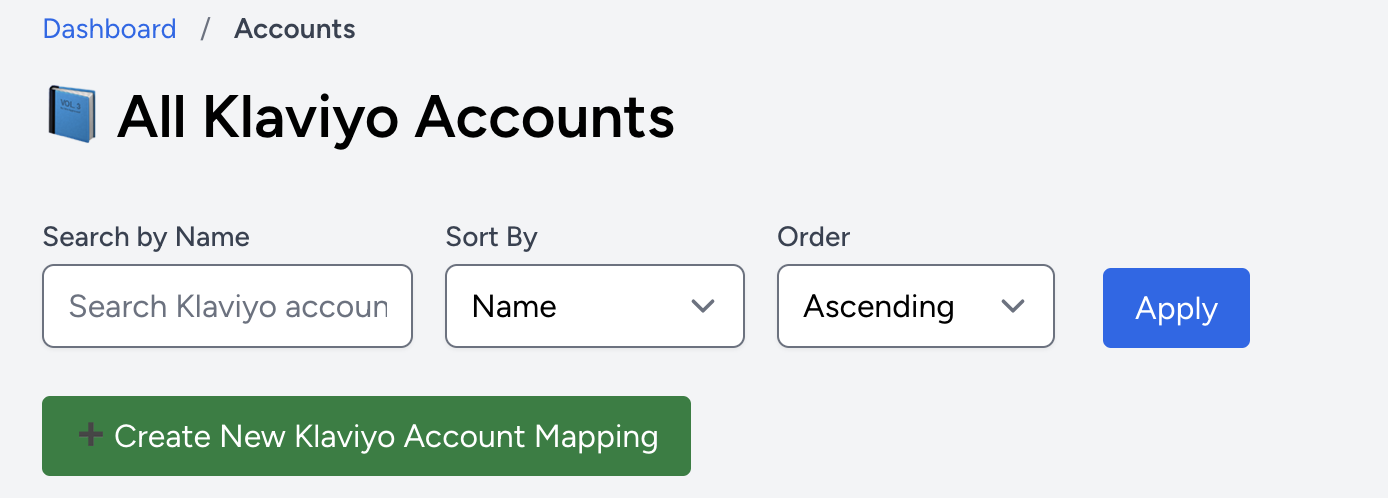
Step 1: Create an Account
After logging in, go to Manage Account and click Create Account. Each account can be tied to a separate Klaviyo connection, ideal for managing multiple brands or clients.
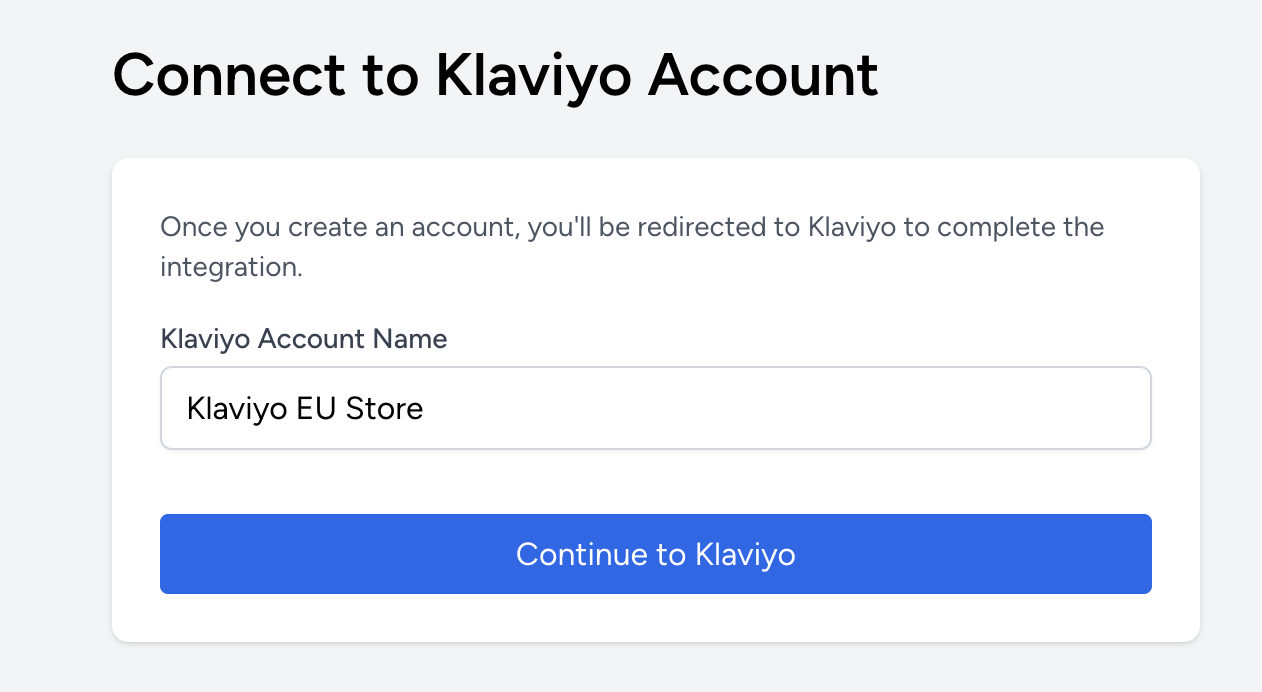
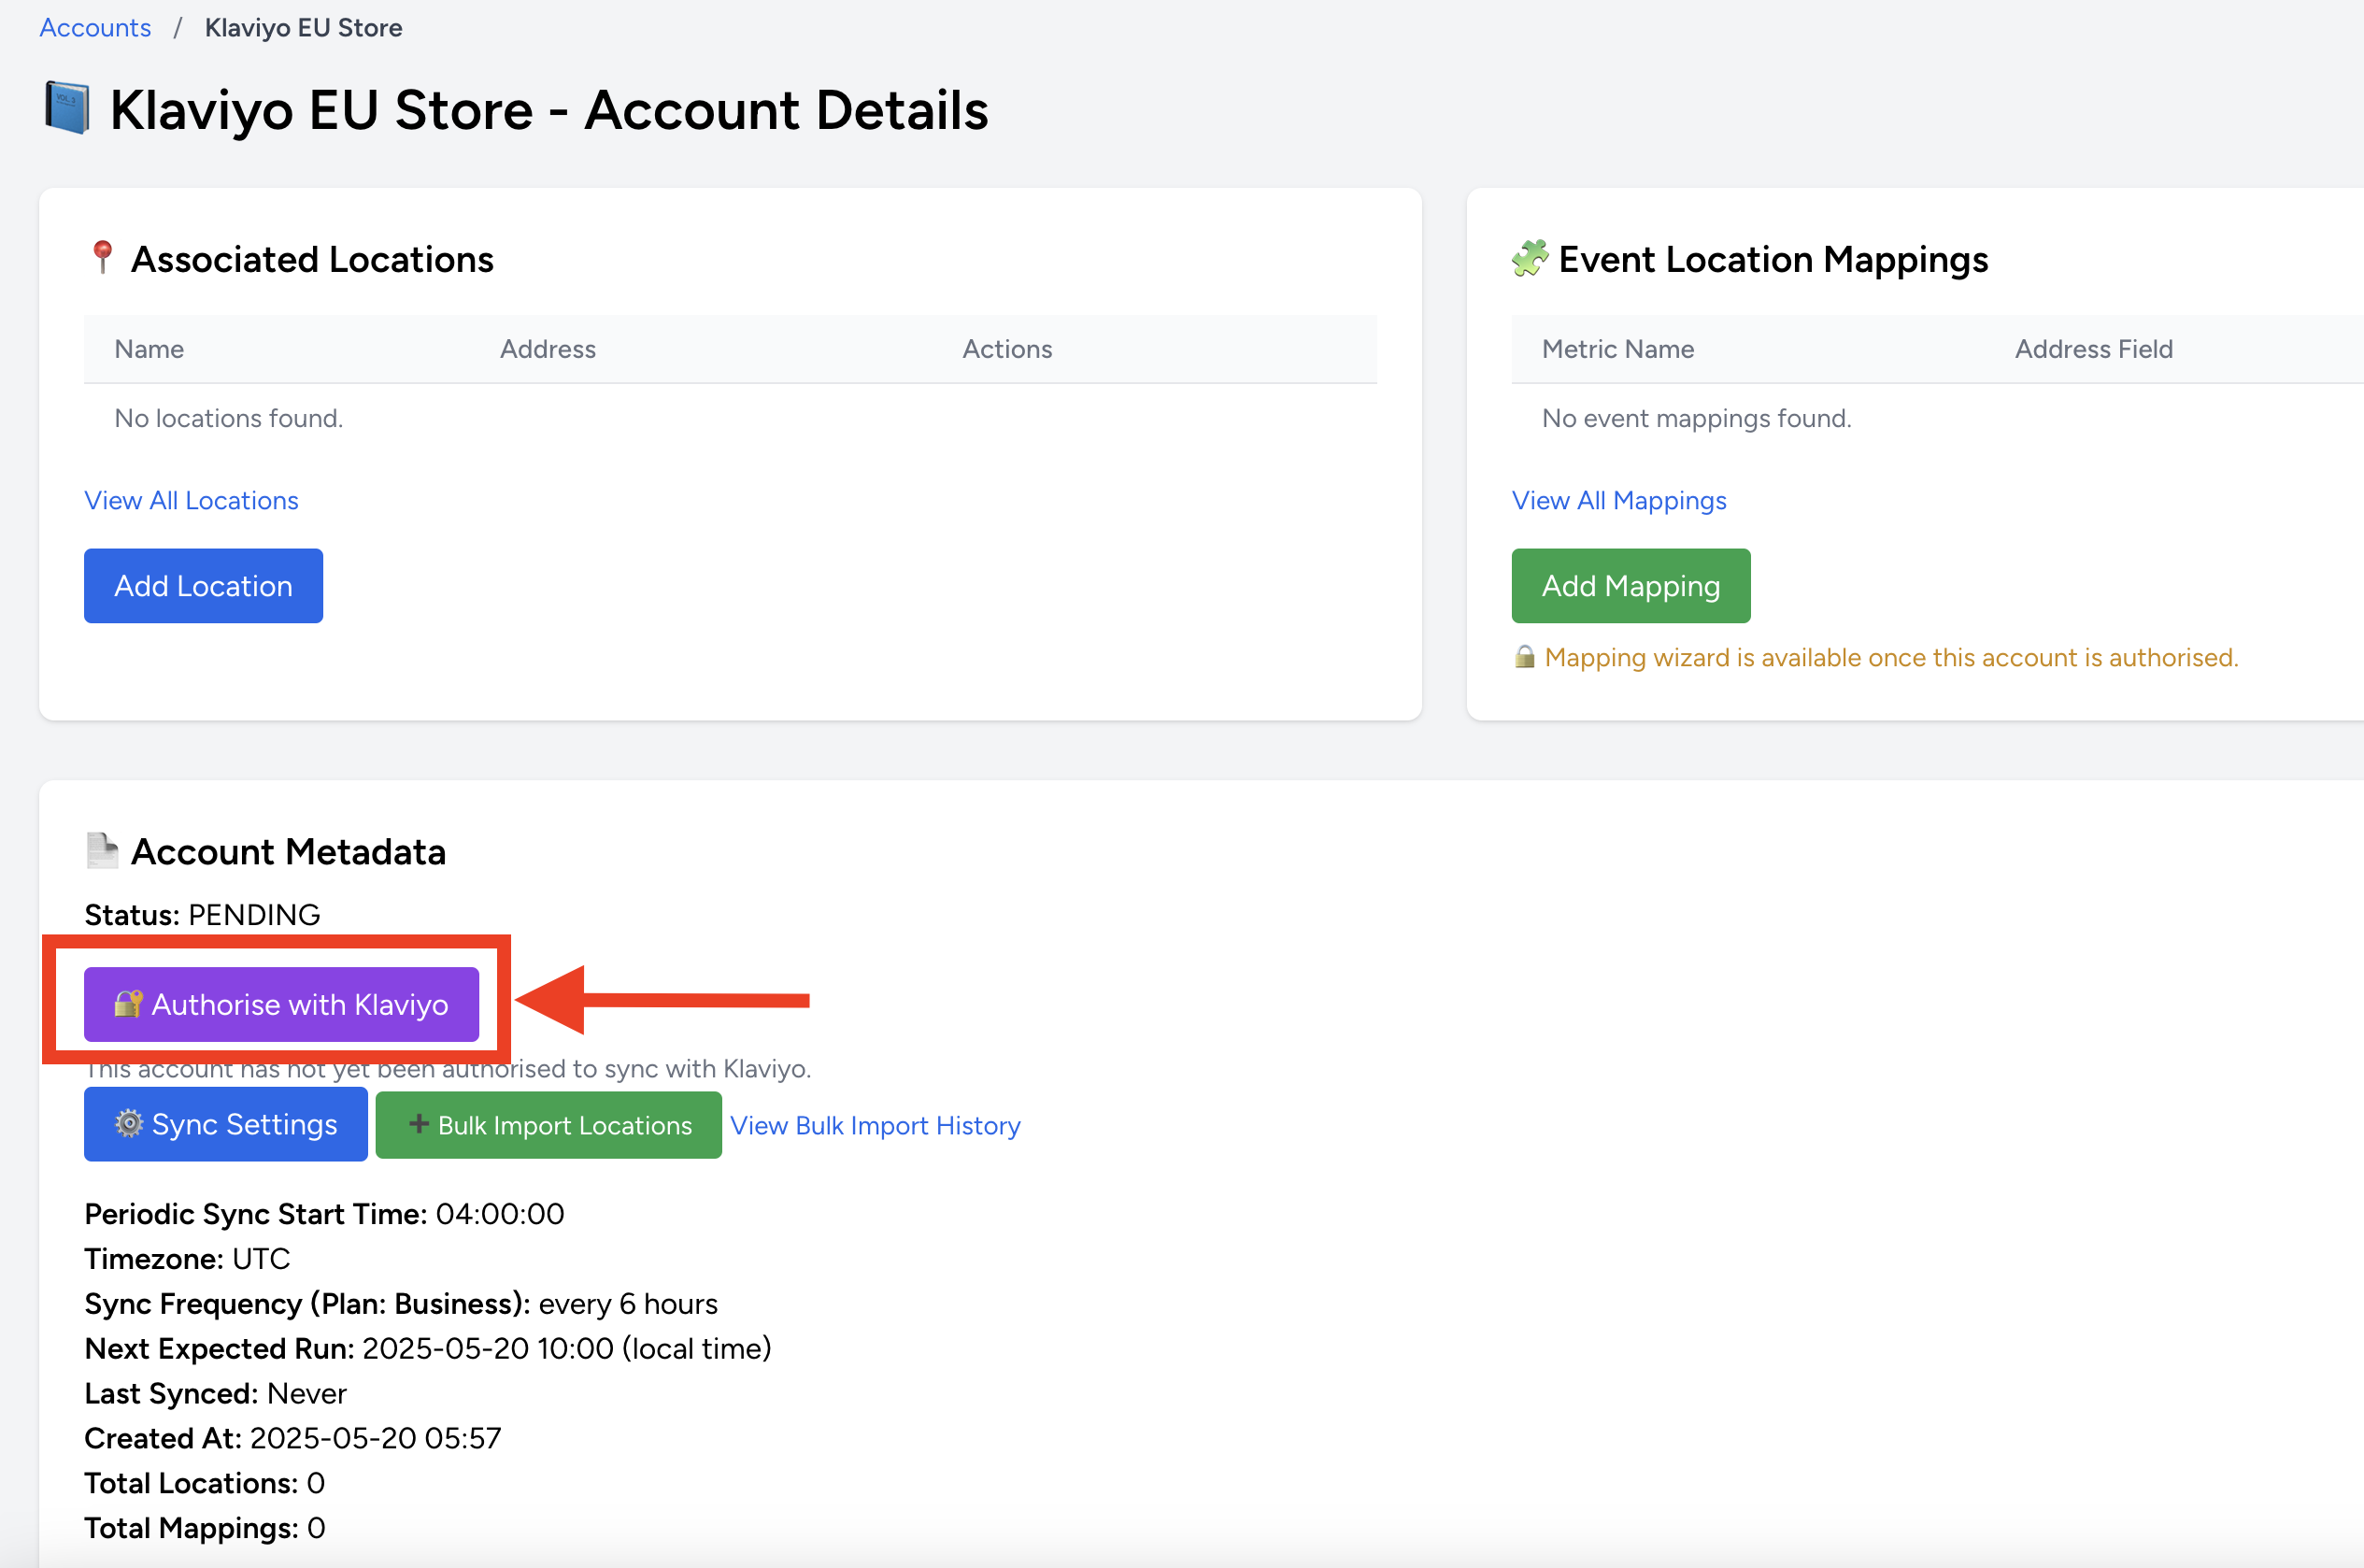
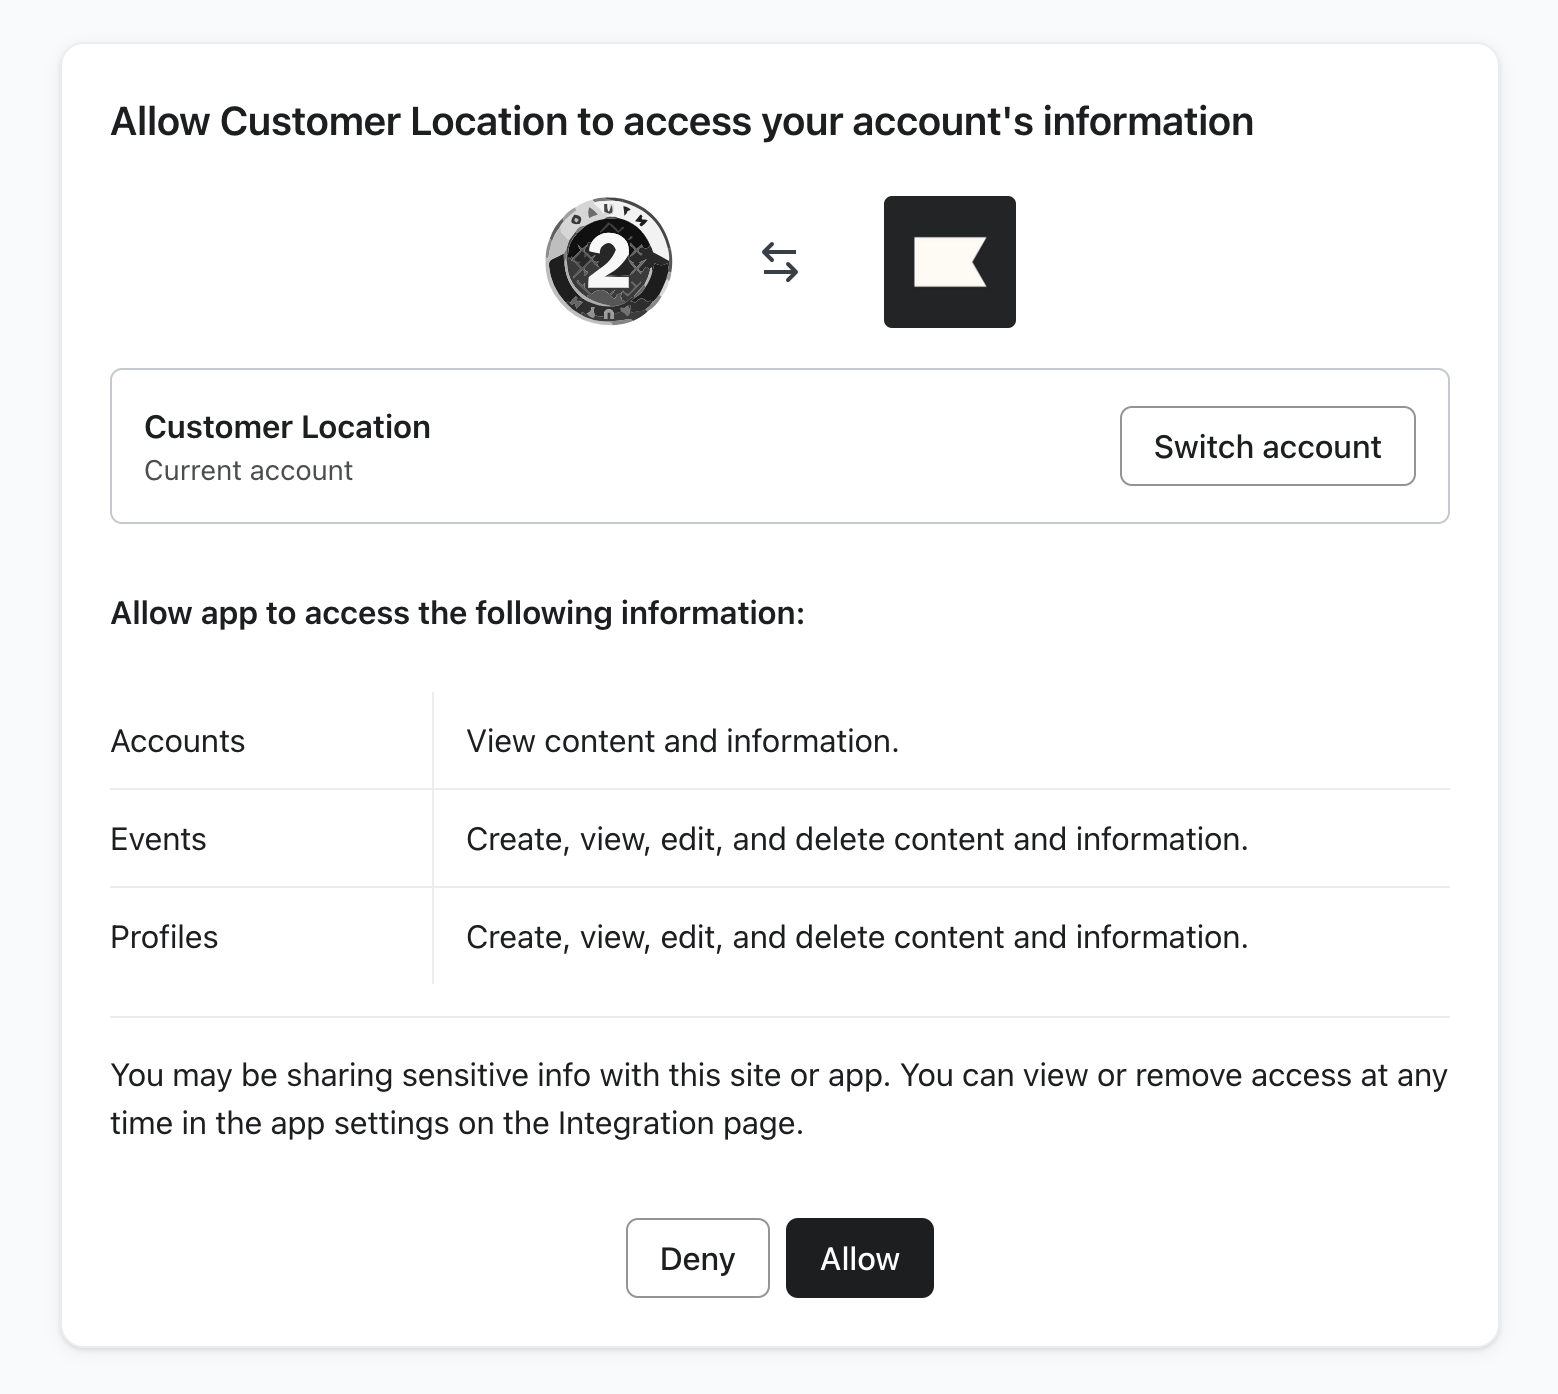
Step 2: Authorise Klaviyo
Click Authorise to connect to Klaviyo. You'll be taken through Klaviyo’s secure OAuth flow to grant access. This is required before any syncing can take place.
To connect more than one Klaviyo account, just repeat this process for each new account.
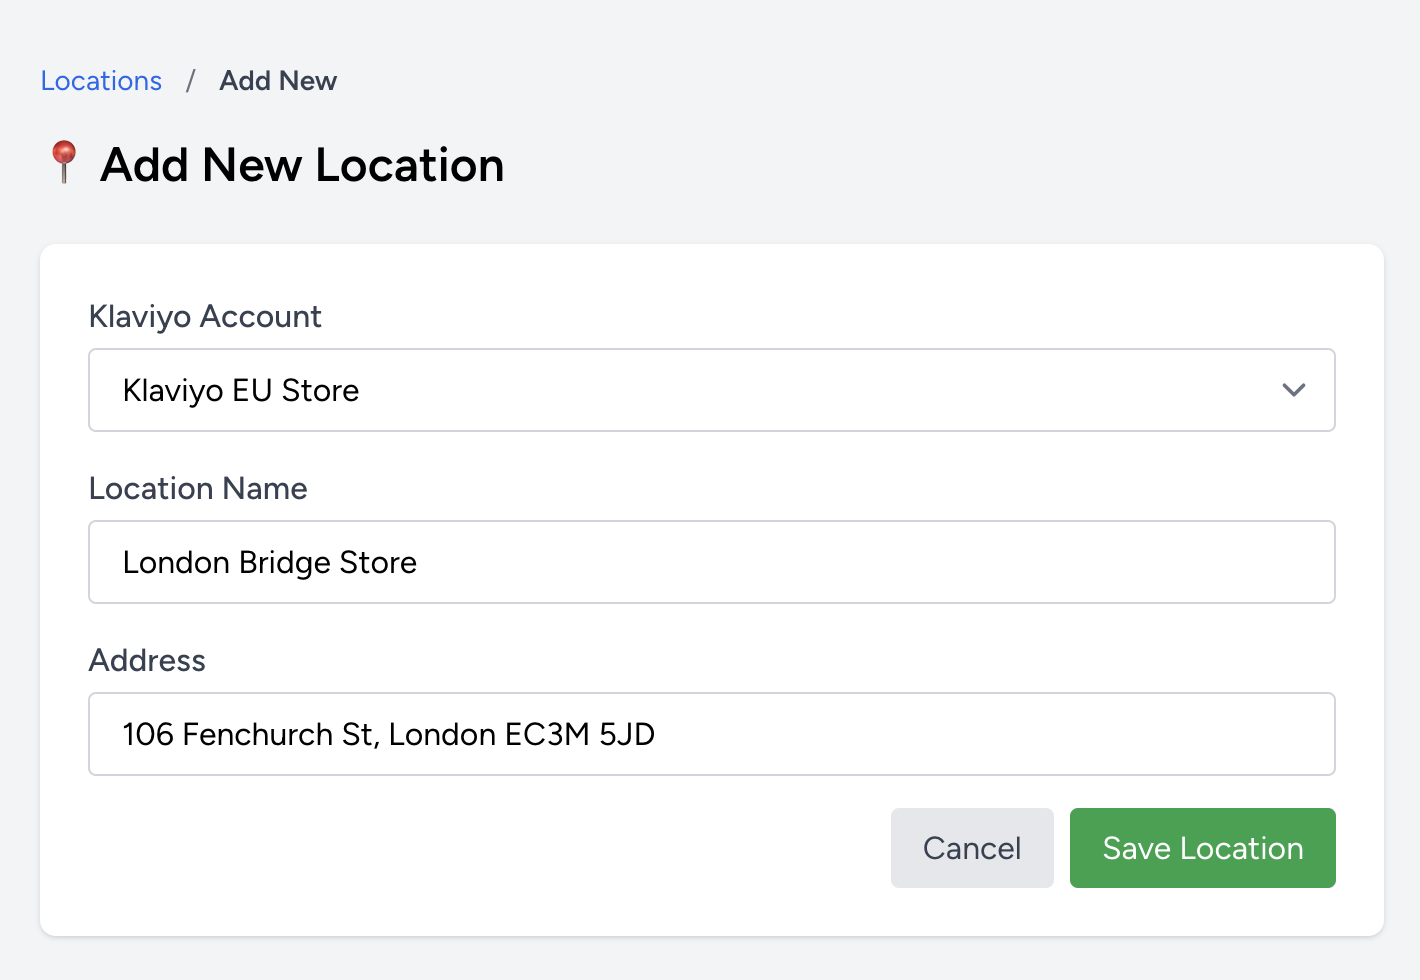
Step 3: Add Store Locations
You can add your store locations in two ways:
Each location should be a valid address which can be found on mapping services like Google Maps.

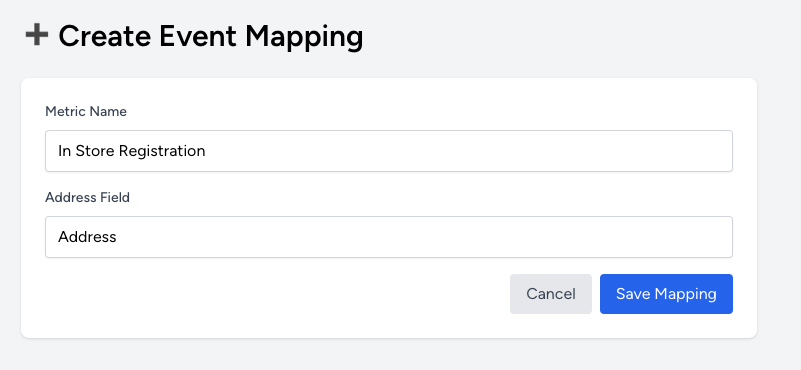
Step 4: Choose a Matching Strategy
Choose how you'd like to associate each customer with a location:
- Use the Event Mapping to map a Klaviyo event (like
Ordered Product) to an address field (e.g.shipping_address). - Map a profile property like city or postcode to the closest store location.
Step 5: Sync Your Data
Once your locations and mappings are set up, Customer Location can automatically sync enriched data back into Klaviyo.
- Update profiles with nearest store
- Send events to trigger flows
- Create custom objects for each match